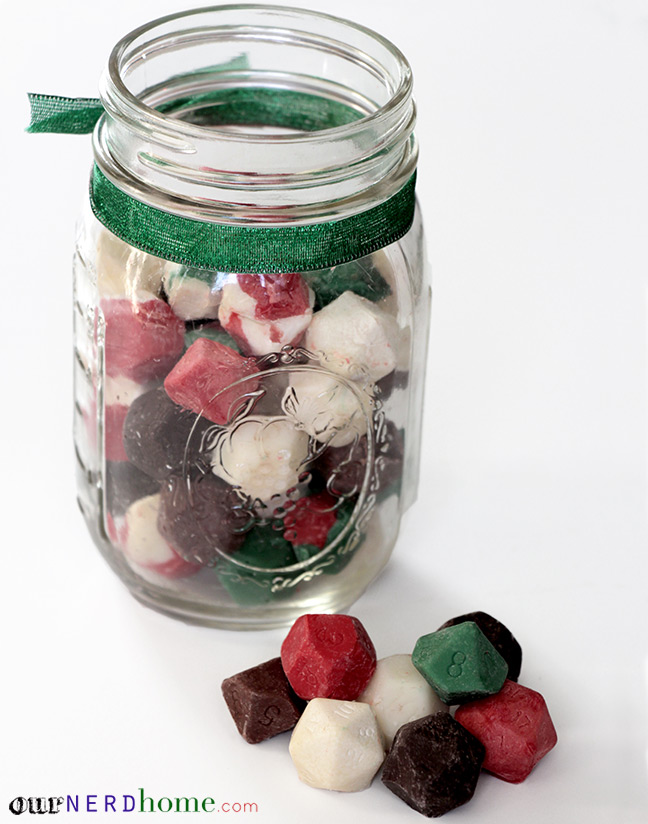
 Looking for a last minute geek gift? Make these DIY chocolate D20/gaming dice! Roll for initiative, then eat the die to hide your terrible roll.
You may have noticed a little sneak peek of these in our Gingerbread D20 post. We made them as gifts for our D&D group, using red and green candy melts (get them at any craft store and some grocery stores), and white chocolate and dark chocolate Ghirardelli baking chips (at grocery stores – any baking chocolate will do). Mmmm…
The magic behind making these DIY chocolate dice lies in one product that I wish we knew about years ago. THIS stuff (EasyMold Silicone Putty). It’s a silicone putty that you can use to make a DIY mold of anything you want. We got ours at Michael’s. It retails there for around $20, but they almost always have a half off coupon on their app or email, so it ended up being ten bucks. Not too shabby, especially considering the awesomeness.
![]() It comes with two parts: a white jar and a purple jar. Basically you measure out equal portions of the white and purple goo, and mix them together until they are fully blended (we used a teaspoon of each, and after 8 molds have lots leftover for other projects). You have about 2-3 minutes TOTAL before it hardens, so be quick about it, and have your dice ready. Once it’s all mixed…
It comes with two parts: a white jar and a purple jar. Basically you measure out equal portions of the white and purple goo, and mix them together until they are fully blended (we used a teaspoon of each, and after 8 molds have lots leftover for other projects). You have about 2-3 minutes TOTAL before it hardens, so be quick about it, and have your dice ready. Once it’s all mixed…
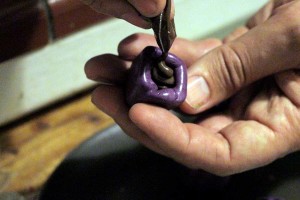
![]() Form a semi-flattened ball, and push your die down into it. Don’t worry, it won’t harm any of your dice. Push the putty up the sides and around the die. We made a few D20 silicone molds, along with some D12’s and a D10. The D12’s seemed to come out best.
Form a semi-flattened ball, and push your die down into it. Don’t worry, it won’t harm any of your dice. Push the putty up the sides and around the die. We made a few D20 silicone molds, along with some D12’s and a D10. The D12’s seemed to come out best.
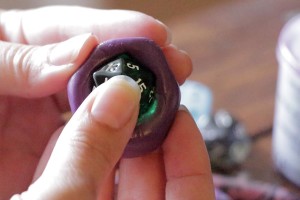 Cover your die until only a somewhat small hole remains at the top. Just large enough for you to be able to push (and push, and squeeze) the dice out of it. Yep, that’s part of the magic of silicone – it’s a little bit stretchy, so you can squeeze the [larger] die out of a [slightly smaller] hole.
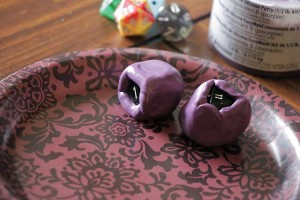 Don’t make your silicone too thick, or the hole TOO small, or you won’t be able to push the dice out. You need it to be thin enough to be flexible (but not so thin it will rip!). We tried some with 2-piece molds as well, but found the single piece molds to be easier – if you come up with a different technique, we’d love to hear about it! We ended up with 6 little molds in total, so that we could make several dice at once. You might want to make just one to start though, for a little trial & error (disclosure: our first two attempts were total fails).
Once the mold has set for half an hour or so, push the dice out.
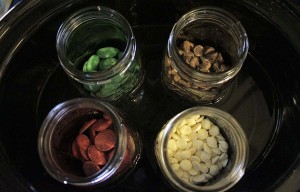
Now onto part two! Melt your chocolate. We melted our chocolate in a slow cooker, so that we could do several colors at once. You can use your microwave instead, or a double boiler. If you decide to melt chocolate in a slow cooker / crockpot, just fill some mason jars partway with chocolate, put the jars in your slow cooker, then add a couple inches of water (don’t get any water in the mason jars!!). Heat on high for about 20-30 minutes until chocolate is melted, then turn heat to low or warm and it will stay nice and melty as long as you need.
 Once everything is melted, spoon the chocolate into ziploc bags, one color at a time. Cut a small corner off the bag, and squeeze it into your molds. As you go, tap/whack the mold onto a solid surface a few times, to get the chocolate to settle with as few bubbles as possible.
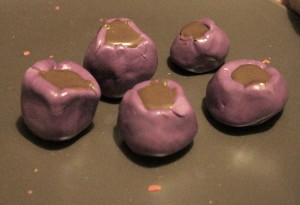 Throw ’em in your fridge and leave them alone. After half an hour or so they should be ready to be popped out. They might go flying across the room (you need some pressure to get them out), so aim them into a bowl.
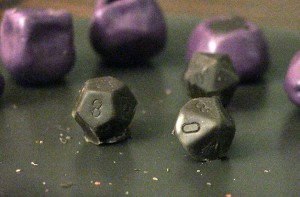 Pretty cool, right? If you look at the D12 on the left you can see that some of the dice have a funny little stem on them, where the opening of the silicone mold was. Use an X-acto knife to smooth things out, then re-fill your molds and repeat until you are drowning in tiny delicious dice.
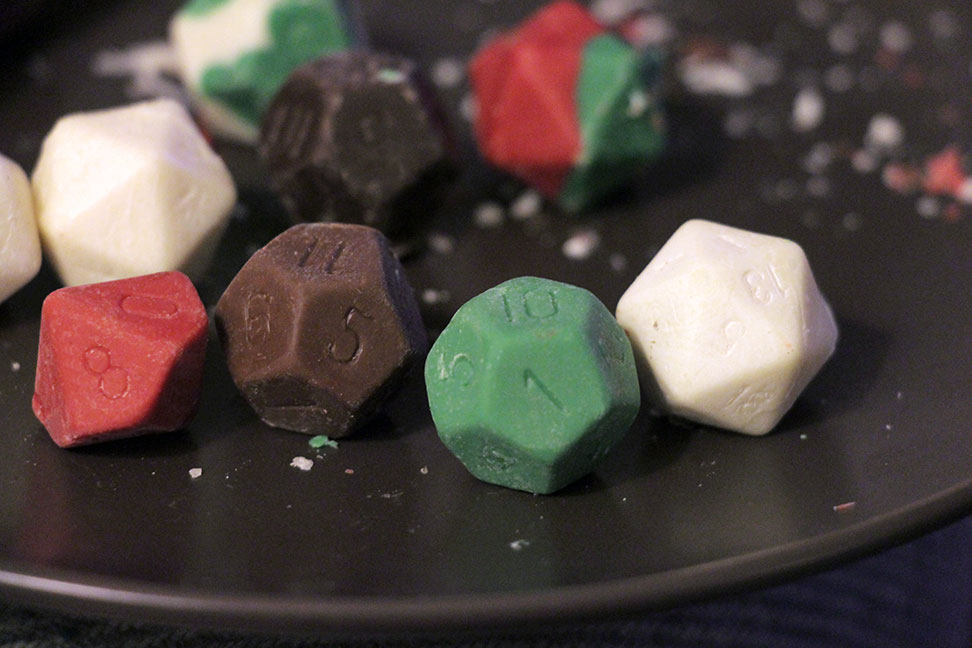 We did a mixture of solid colored dice, and dice with the colors swirled together. For the swirls, alternate which color melted chocolate you squeeze into your DIY silicone mold. Some of the dice came out better than others, some had big air bubbles or came out broken, but those happy accidents just became snacks for us, so everything worked out. 🙂
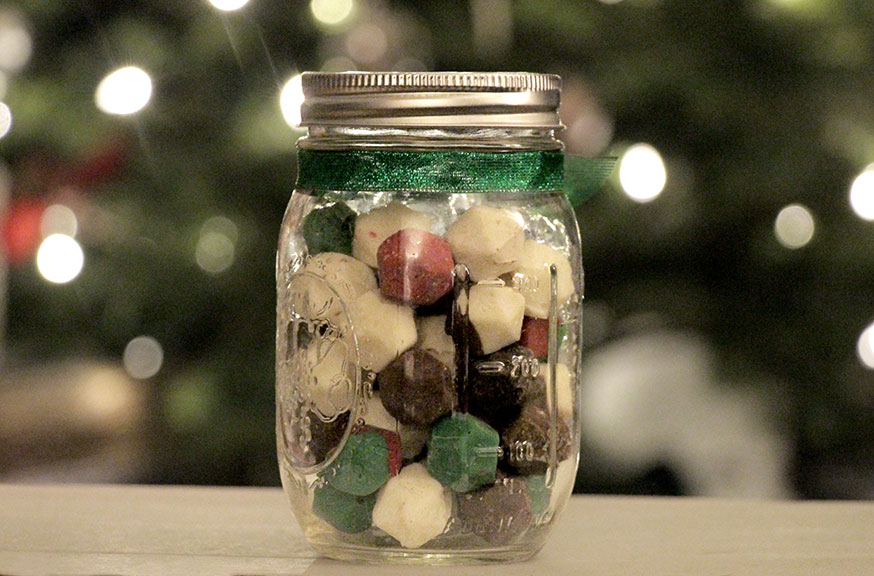 DIY chocolate gaming dice + mason jar & ribbon = unique geek gift. If you would rather buy than DIY, ThinkGeek sells a set of 6 chocolate dice for $7.99.
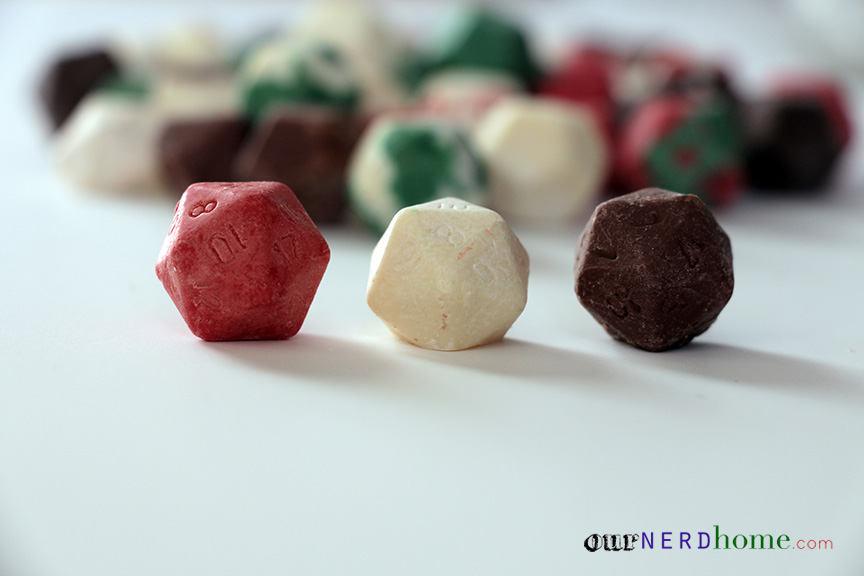
These of course don’t have to be holiday-only gifts. I’m thinking cute geeky Valentine’s Day gifts, or just snacks for your next game night. Oh, and you can also make DIY D20 ice cube trays, using this same method.

 RaCh says
December 22, 2013 at 8:26 pmI was waiting for this tutorial! Love it! Using polymer clay you could probably just make your own dice. I’m not sure how balanced they would be but I plan on trying it out! I’d love to say I made my own die. 🙂
 ournerdhome says
December 23, 2013 at 7:48 amWe were thinking the same thing! We’ll probably try to perfect our 2-piece mold attempts first, to avoid the little stem that forms from the hole. Hmm… 🙂
 Deb N Cats says
December 22, 2013 at 8:43 pmMy DM daughter would love these. To be able to say, “Oh and we’re going to use the dice my mom made for me.” The Think Geek dice are very tasty.
 ournerdhome says
December 23, 2013 at 7:53 amThanks! And we keep trying to order some of the ThinkGeek dice, but they seem to be out of stock quite a bit (so they must be good!). That’s part of what inspired us to make our own.
 Usagi says
December 23, 2013 at 9:40 amAwesome tutorial!! I actually have the Star Wars ice cube/mold trays and I’ve been meaning to make chocolate with them but I did not know about the colored candy melts!
 ournerdhome says
December 23, 2013 at 12:57 pmThe candy melts don’t taste quite as good as the Ghirardelli chocolate, but the colors are so fun and they are REALLY easy to work with. We used some of the red candy melts in a Han Solo ice cube tray, and they came out really nicely.
 Dellah says
December 23, 2013 at 12:05 pmSilicone is washable, right? Do you need to wash the molds before you make the candy at all?
 ournerdhome says
December 23, 2013 at 1:00 pmIt is washable. We did rinse ours out before using, but the directions don’t seem to call for it – we just didn’t want any weird silicone taste or anything. We probably SHOULD have rinsed them out between colors too, especially when using dark chocolate right after white chocolate – our dark chocolate got some little white chocolate specks on it, but we didn’t mind too much. 🙂
 Lisa says
December 27, 2013 at 4:56 amYum, they look so good! That putty seems pretty awesome too – so many possibilities! ^___^
 ournerdhome says
December 30, 2013 at 9:40 amRight? And it is so easy to work with. We had been looking at other silicone mold-making products before, but they seemed a little more messy/complicated (or had to be bought in bulk). I’m so glad we found this stuff!
 Melissa Parker says
December 29, 2013 at 9:58 pmDid one side not have a number on it?
 ournerdhome says
December 30, 2013 at 9:43 amCorrect. Although I think you could probably etch it in there with a small toothpick or pin. Otherwise you would need to do a 2-piece mold (with the die fully encased) to get every side clean, though then you might get a seam where the mold pieces meet. 🙂
 Valië Débora says
September 23, 2014 at 12:26 pmCould you possibly just make a cap for the side left open or something?
 jaeonasi says
January 4, 2014 at 5:37 pmI think leaving off the side with the 1 is an excellent idea. No critical fails, then! 😀
 Shana says
April 9, 2014 at 1:07 pmThese are awesome! I totally plan on making them. hey off the subject, but does anyone know where to buy game dice beads? ive made my own out of D20s to make jewelry, but its a pain to drill the holes, especially if the dice accidentally splits while drilling.
 Geeky Woodworker says
April 6, 2017 at 8:15 pmYou could probably use the silicone to fill a void in a piece of lumber to hold the die steady. Ideally, use a drill press at high speed and go nice and slow. That should reduce splitting.
 Laura says
June 1, 2014 at 7:13 amLove these so much! I’m doing a D&D themed bag of goodies for my fiance’s birthday and I’m so going to make these! Did you ever manage to perfect the 2 piece mold idea?
 ournerdhome says
June 5, 2014 at 3:02 pmYour fiance’ will love them! 🙂 The 2 piece mold worked well enough, but we did find that a 1 piece mold, made correctly, was just easier to use.
 Jennifer @ Geek Chic Mama says
July 26, 2014 at 8:54 amThese are adorable. I love that you were able to find food-grade silicone.
 Amanda says
August 7, 2014 at 7:58 pmWould ghiradellia chocolate chips be okay?
 Stephanie says
August 25, 2014 at 3:41 amDo you know if they’d stand up to making hard candies? Those would be so like dice you might not be able to tell!
 ournerdhome says
August 26, 2014 at 5:09 pmThat’s a great idea! We’ve never tried to make hard candy, but as long as it’s pourable, I’m guessing it would work in the molds, since the silicone is heat-safe.
 kochjennb says
May 14, 2015 at 7:27 pmHelp, I tried this and did all the steps, but part of my mold is coming out with the chocolate, what can I do to fix this ….
 ournerdhome says
May 14, 2015 at 11:55 pmHey there! We never had anything like that happen (maybe a bad batch of silicone?), but the only things we can think of is to form the mold either a little thinner so it’s more flexible, or a little thicker so it doesn’t break? Maybe also try to do the opening a little larger?
 GrimKitty says
December 1, 2015 at 3:49 pmI absolutely love this! I am going to try & make these for my wedding!! 😀 They are absolutely perfect (Our wedding is basically D&D themed! 🙂 ) Thank you in advance, can’t wait to try it out!
 ournerdhome says
December 1, 2015 at 3:53 pmA D&D themed wedding sounds amazing!
 Amy says
March 24, 2016 at 4:39 pmDo you have any suggestions on how you made the 20 sided die specifically, I’ve been trying and it keeps tearing.