I know I keep promising more DIY projects, so here is one we JUST finished.
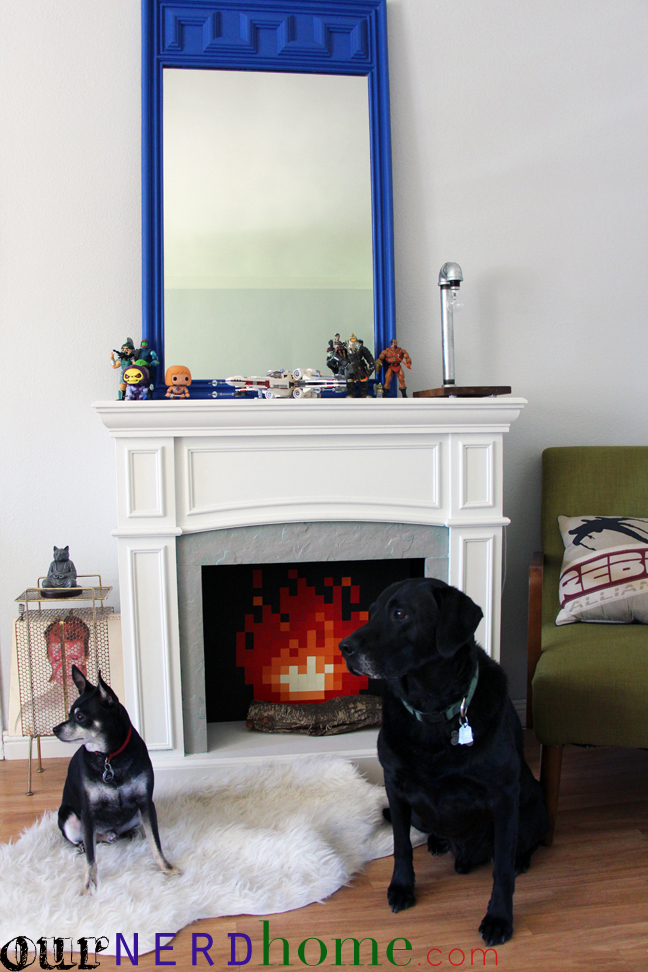
It is an 8-bit fire made entirely of paint chips (you know, the free paint-colored squares from Lowe’s/Home Depot. We had a bunch lying around from when we painted our doors, and didn’t want to throw them away), some glue sticks, and a cheap black poster board or foam board. The total cost for the project was $2 and change, since we already had the glue.
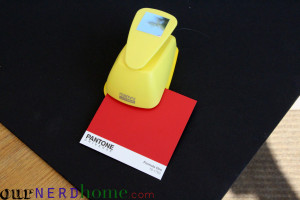
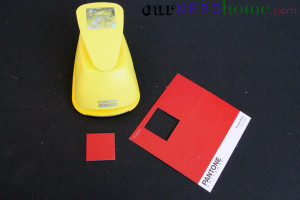
We used and highly recommend a square hole punch (easily found at Joann or Michaels). We had one already (from previous 8-bit / 16-bit projects), but if you don’t, just grab some scissors and cut squares. A lot of them.
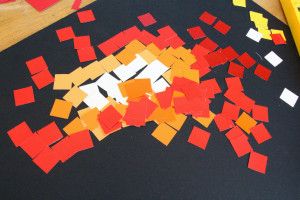
We used a screencap of the “It’s Dangerous to go Alone! Take this” fire from Legend of Zelda (Random trivia: Link to the Past is Kat’s favorite game of all time).
Cut the poster board or foam board to the size of your fireplace, and mark the center with a pencil. You’ll work your way out from the bottom row center, just following the pattern of the squares in your inspiration picture. First we laid out all of the squares WITHOUT glue, to make sure it would work and that we had enough.
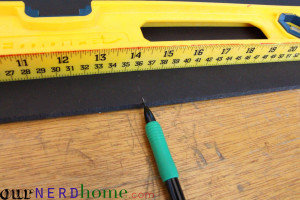

Now start gluing! We used cheap glue sticks that we had laying around (3 of them).
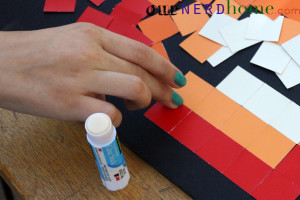
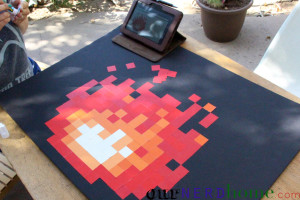
After about half an hour… DONE!
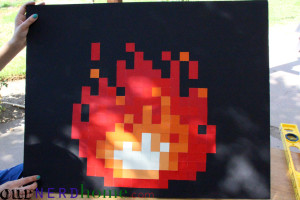 Here it is in our “fireplace”.
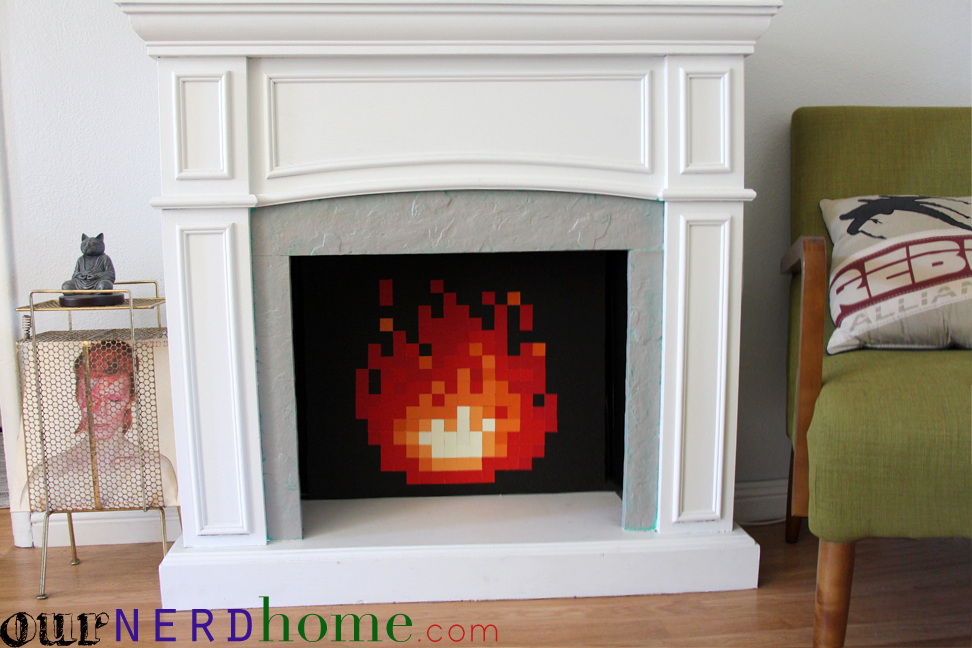
We also tried it with a log (and our dogs) in front of the fire, to see how that worked. What do you think of the log? Too much?

 Mamama' says
September 24, 2013 at 4:21 amWow, I LOVE THIS! I’m going to buy a square hole punch today….ah, the ideas are flowing!
 ournerdhome says
September 24, 2013 at 11:18 amThanks! And yes, the punch has come in VERY handy.
 Heather Craftfail says
September 26, 2013 at 4:07 pmThat is so freakin’ cute! 🙂
 ournerdhome says
September 26, 2013 at 6:34 pmThank you so much!
 Leslie says
September 29, 2013 at 12:12 pmHilarious! Love it!
 ournerdhome says
September 29, 2013 at 4:15 pmThanks! And I just checked out your blog – so much fun stuff.
 kimc says
September 30, 2013 at 9:28 amI love this. I totally had it in my mind to do something with our gas fireplace we never use but don’t want to remove *just incase*. I was thinking a piece of ply with chalkboard, but we already have a couple chalkboard surfaces in the house for the kids. This is an even better alternative!
 ournerdhome says
September 30, 2013 at 11:38 amThank you! And the chalkboard idea sounds really cute too.
 Miranda says
September 30, 2013 at 10:34 amThis is so awesome! I have a fireplace that I will never use, and that also totally creeps me out. This is the perfect solution!
 ournerdhome says
September 30, 2013 at 1:56 pmThank you! And your website is awesome.
 Miranda says
October 1, 2013 at 9:24 pmOh thank you! I appreciate you taking a look around ^_^ I’m also about to make one of the 8-bit fireplaces, I’m so excited!
 Yvonne Takane says
October 1, 2013 at 7:09 amThis is great! We’re lucky enough to have two fireplaces, but that means we never use one of them. It currently has a large framed picture in front of it to keep the cats from crawling in. Love the idea of doing this instead!
Just found your blog this morning, btw, and I already feel like I’m going to love everything you do. Can’t wait to see what you have coming up!
 ournerdhome says
October 1, 2013 at 11:47 amThank you so, so much! Now that we are finally getting settled into our little house, we will have a lot more projects coming up.
 jenniferlspicer says
October 1, 2013 at 11:34 amThat’s awesome. I’ve got a little Minecrafter that would love something like that in his room!
 ournerdhome says
October 1, 2013 at 11:49 amThanks! Minecraft is one of those parts of gaming culture that has totally gotten by us. I’ll have to change that soon. 🙂
 Rachel says
October 2, 2013 at 9:36 amThat is sooooo fabulous. I love it! And I would LOVE to link to your project if you didn’t mind.
 ournerdhome says
October 2, 2013 at 10:02 amOf course we don’t mind! It would be an honor. 🙂 And thank you very much.
 Chris says
October 4, 2013 at 3:11 amThis brilliant. Although, I can’t help but be distracted by the awesome meditating cat above the Bowie print. Amazing.
 ournerdhome says
October 4, 2013 at 12:34 pmThank you, Chris! We love ReMadeIt!
 Martha says
October 6, 2013 at 7:49 pmI love this! A craft I can do with my son. He would totally be into this project.
Thanks for the great idea.
 ournerdhome says
October 7, 2013 at 7:21 pmYou’re welcome, and thank you for visiting our blog! We’ll try to post more projects that cool moms can do with their gamer kids. 🙂
 Michele T says
October 8, 2013 at 11:54 amI quilt and this would be an awesome design to make for a quilt!! Thanks for sharing 😉
 ournerdhome says
October 8, 2013 at 12:07 pmI wish that I could quilt! Sewing and I don’t get along so well. 🙂 8-bit and quilting seem to be a perfect match.
 Abra says
October 9, 2013 at 11:30 amDid you use four colors? Which ones? Also, did you use a yardstick so the lines would be straight?
 ournerdhome says
October 9, 2013 at 12:05 pmHi Abra,
We actually used at least 10 colors. We went with paint chips that we had on hand, so there are a lot of different variations of red and orange there (though they are all VERY similar, to the point that you can’t really tell a difference unless you are inches away). Really any shades of red/orange/white would work. We did not use a yardstick, we just marked the center of the bottom row with a ruler and worked our way up from there. Since the squares were all identical (we used a square punch), it stayed even the whole way up.
 Lori says
January 24, 2014 at 7:01 amI LOVE this diy! I have a fireplace in my apartment but we never really use it… This would make it look really awesome! Great tutorial
 Vikki (@cuteek) says
December 12, 2014 at 10:51 amThis is amazing and so effective! I would love to add some 8-bit to my home. Thanks for the inspiration.
 Jim says
May 1, 2015 at 7:51 pmYour 8-bit fireplace got referenced by ThinkGeek.com. Nicely done! Looks amazing!
 Jasyn Bourne says
September 20, 2015 at 6:47 pmI just did this today and I am so excited!!! My husband loves it too! Our fireplace is a different shape so we had to shape the foam board a bit differently but turned out great. Thanks so much for the idea!
 joyousunicorngaming says
October 2, 2015 at 6:16 amYou could totally do this with sticky notes.
 Lauren Beal says
August 3, 2016 at 7:53 amThank You SO Much for posting this DIY! I am moving to a new apartment in a few days that has 2 sealed up fireplaces. This will look epic in my new place!!