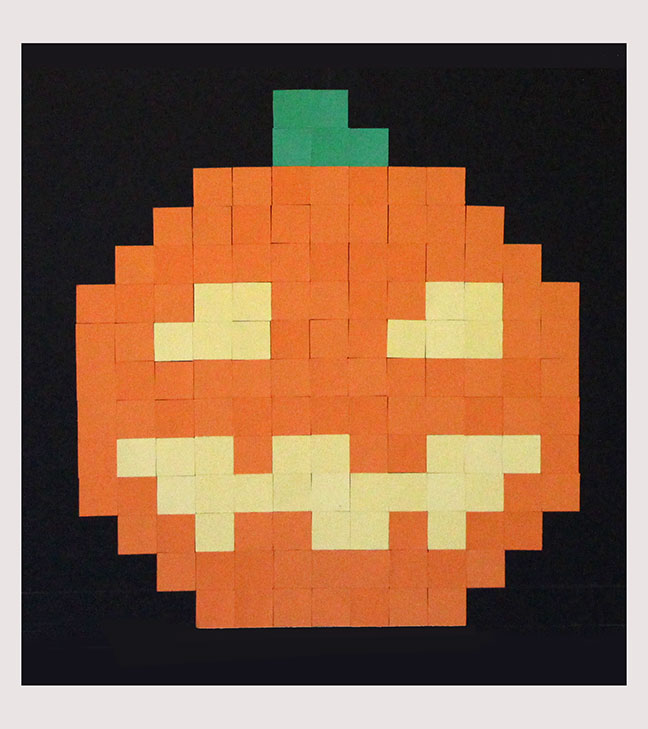
If you love classic videogames, pixel art, or Minecraft, this 8-bit pumpkin is a a good last-minute geek Halloween project for you! It takes all of maybe 30 minutes to make…
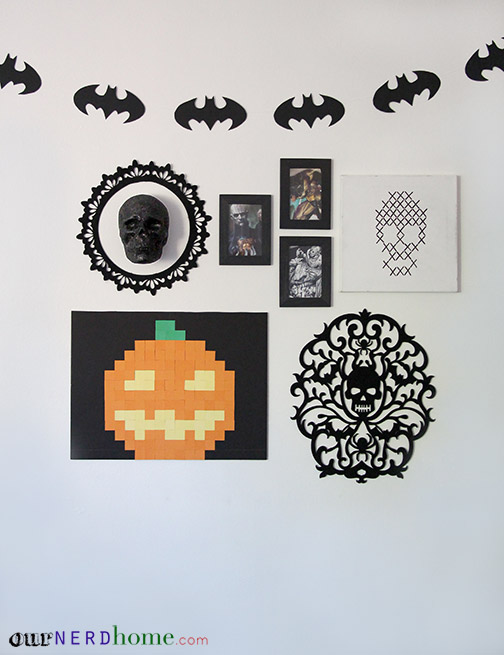
We just featured this in our geeky Halloween house tour, but we wanted to share a [very] quick tutorial for this easy 8-bit jack-o-lantern / pixelated pumpkin.
If you’ve seen our Legend of Zelda 8-bit fire, then this will be familiar, since we made it the exact same way. 🙂
We started with:
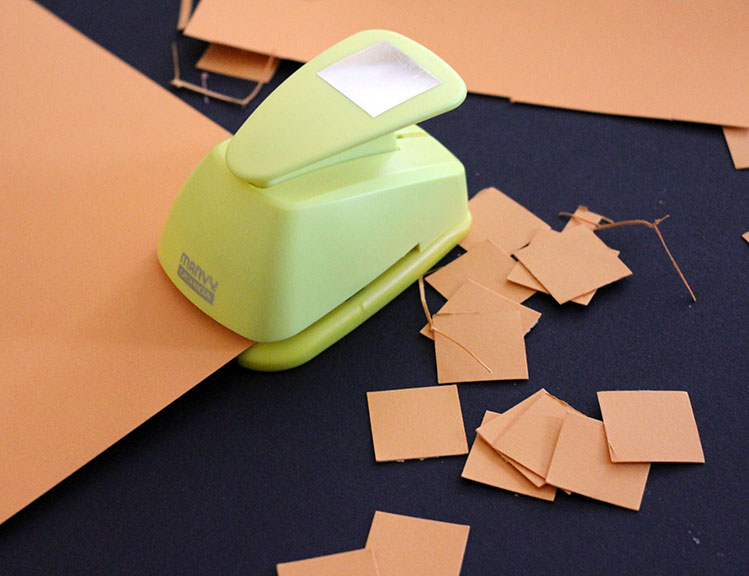
Square hole punch (or scissors, if you’re patient)
Black foam core board (or thick poster board)
Orange, yellow, and green card stock (or construction paper)
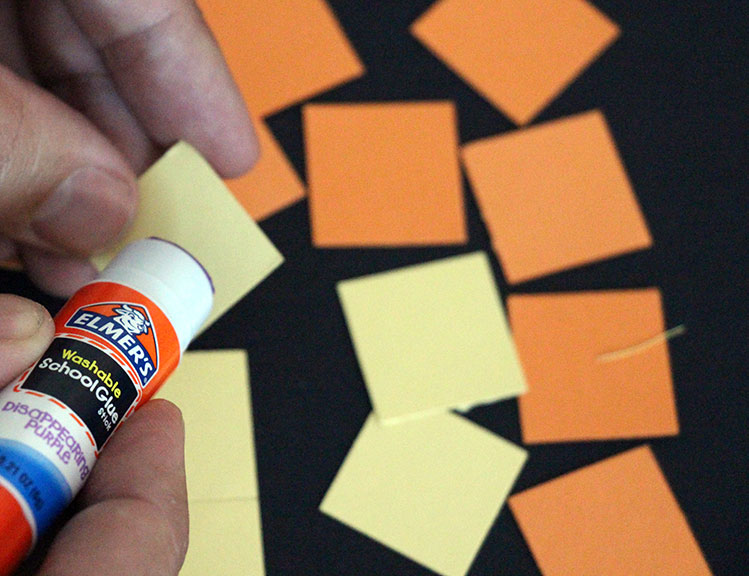
Glue stick
Use your hole punch to cut out a big stack of squares. These hole punches come in VERY handy, and we have them in a bunch of different shapes.
The most fun part is designing your 8-bit jack-o-lantern face. We laid the yellow squares out first, and moved them around until we found a basic pumpkin face that we liked.
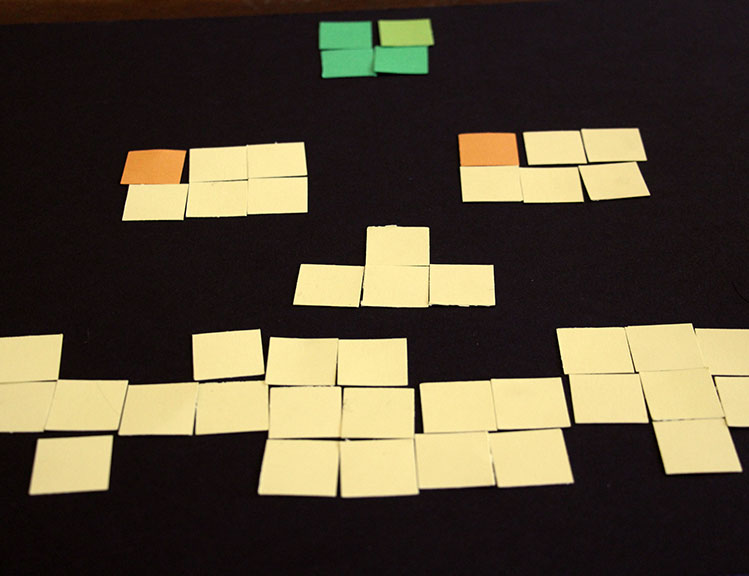
Once you find the shape you like, start gluing! It’s easiest to start at the bottom of the foam core or poster board, so you know your lines will be even.
That’s really it. We hung ours up with a couple of Command strips. It’s VERY lightweight, so you could probably also use double-stick tape if it’s only up temporarily.
![]()
You can see more of our geeky Halloween decorations in our house tour post, and we’d love to hear about any DIY Halloween projects you’re working on!

 Stephanie @ Sandpaper and Glue says
October 24, 2014 at 11:42 amOooh I totally thought those were post it notes when I saw them on your house tour! haha. Those punchers are super handy, I have several as well. 🙂
 ournerdhome says
October 30, 2014 at 4:21 pmPost it notes are actually a great idea!
 Haley says
November 11, 2014 at 6:09 amI’ve used old floppy disks to make a pumpkin before
 Leslie says
October 28, 2014 at 8:04 pm🙂 So cute. Love this!
 ournerdhome says
October 30, 2014 at 4:19 pmThank you, Leslie!