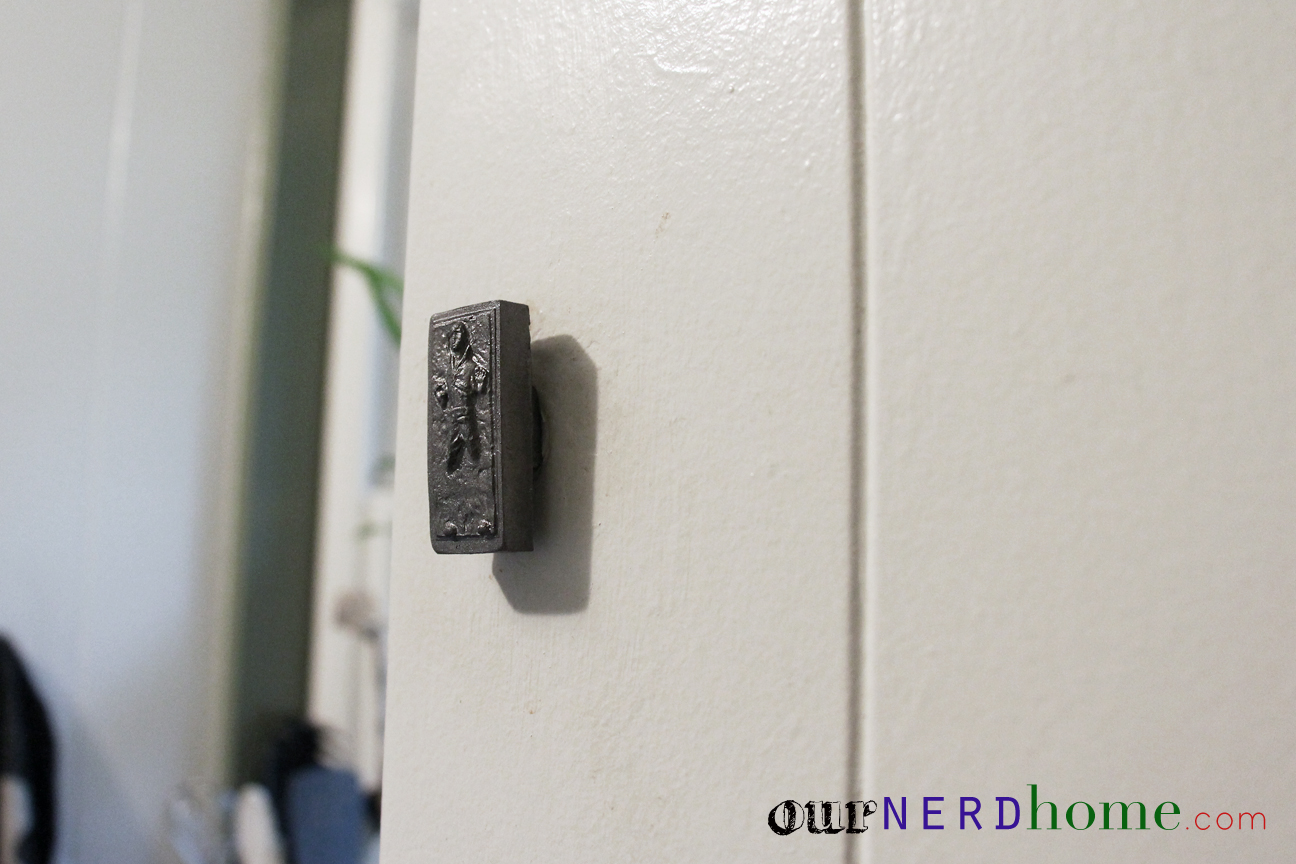
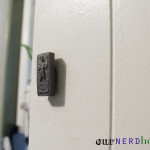
Yep. We were looking for some unique cabinet and drawer knobs/pulls, but couldn’t find anything that really stood out. While getting some Han Solo [frozen in carbonite] ice cubes out of the freezer last weekend, we had an idea inspired by HomeMade Modern’s concrete Darth Vader vase.
The easy DIY instructions: Start with the Han Solo silicone ice cube tray. Make sure you get the actual silicone one by Kotobukiya, and not a knock-off. The cheapest place we’ve seen it is on Amazon. Add some Sculpey Premo clay. Bake it, glue in a nut, and wrap it all up in some metallic craft paint. Done!
If you want to see the process a little more in depth, here it is!
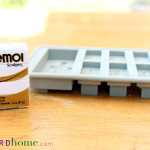
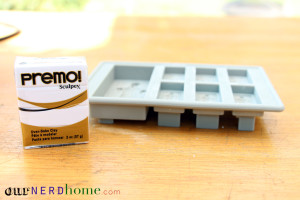
What you’ll need: Ice cube tray, Premo Sculpey clay, Goop glue, Acrylic craft paint, sponge brush, toaster oven (or just an oven), nuts and bolts.
The Sculpey above runs around $2.50-$3.50 at Joann or Michaels, or you can get it on Amazon if you don’t want to leave your house. That amount should make you 5 little Han’s.
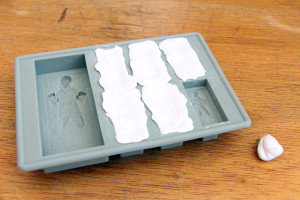
Start with softening up the clay in your hands. Just kneed it around and smash it and pull it apart until it is nice and malleable. Once it’s soft, mash it into the mold, being sure to get into every corner and crevice. Once it’s in there, run the back of a knife over everything to smooth it all out.
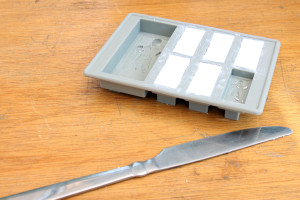
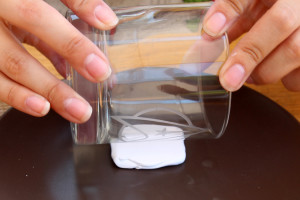
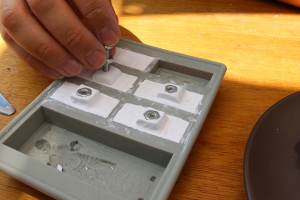
Roll the little bit of Sculpey you have left into a flat square (I used a cup, you could use a rolling pin. Whatever you’ve got). Cut the bigger square into several little squares, about the width of the nut you plan on using. This is to give a little gap between Han and your cabinet/drawer, so it is easier to grab onto.
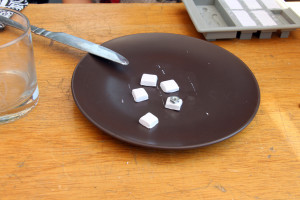
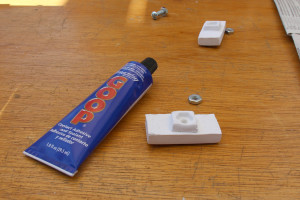
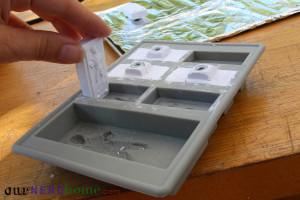
Stick the little square onto the main mold, and smooth down the sides to attach the two pieces together (I hope that makes sense. See photos below).
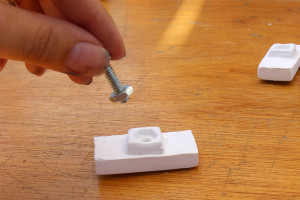
Now with a bolt screwed partially into the nut, push the nut into the little square. The reason you want it partially screwed in is so that it creates a hole deep enough to give the bolt somewhere to go later.
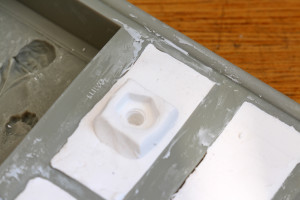
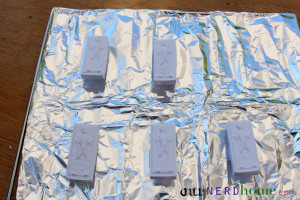
We decided to bake these fellas with the nut in place, to make sure that the hole didn’t shift somehow during baking (you never know, right?). When you GENTLY remove them from the mold, they’ll look like this:
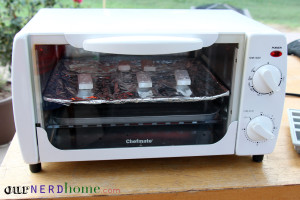
Put your tiny army of scruffy-looking nerfherder’s on a baking sheet (or in our case, a toaster oven rack lined in foil), and bake according to Sculpey Premo directions. We chose to use a toaster oven outside because we didn’t want to flood our house with weird smells or toxins, but Sculpey says that it is fine to bake right in your home oven. Just follow all directions and precautions.
Let your Han’s cool off COMPLETELY before you do anything to them. Couple of hours. If you’re us, you’ll play Borderlands 2 while you wait and the time will whiz by. Ghosting.
Now you’re almost done! Take the nut out using a bolt, then use GOOP or E-6000 type glue to permanently (hopefully) attach the nut to the knob. (Is anyone else snickering like a five-year-old about how innuendo-filled this all sounds? Sometimes being a grown up is difficult).
Again, follow all instructions and precautions for the glue. I scuffed up the nuts with a metal nail file so that they would have a better grip. If you don’t follow the glue directions on the packaging completely, this won’t work. Trust us.
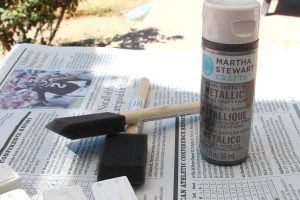
Painting time! We used Brushed Pewter from Martha Stewart paint, which is a dark metallic bronzey silver. Sponge brushes seem to work best, because you can stipple the paint on and avoid brush strokes. And they’re cheap. We painted both the fronts and backs, one coat.
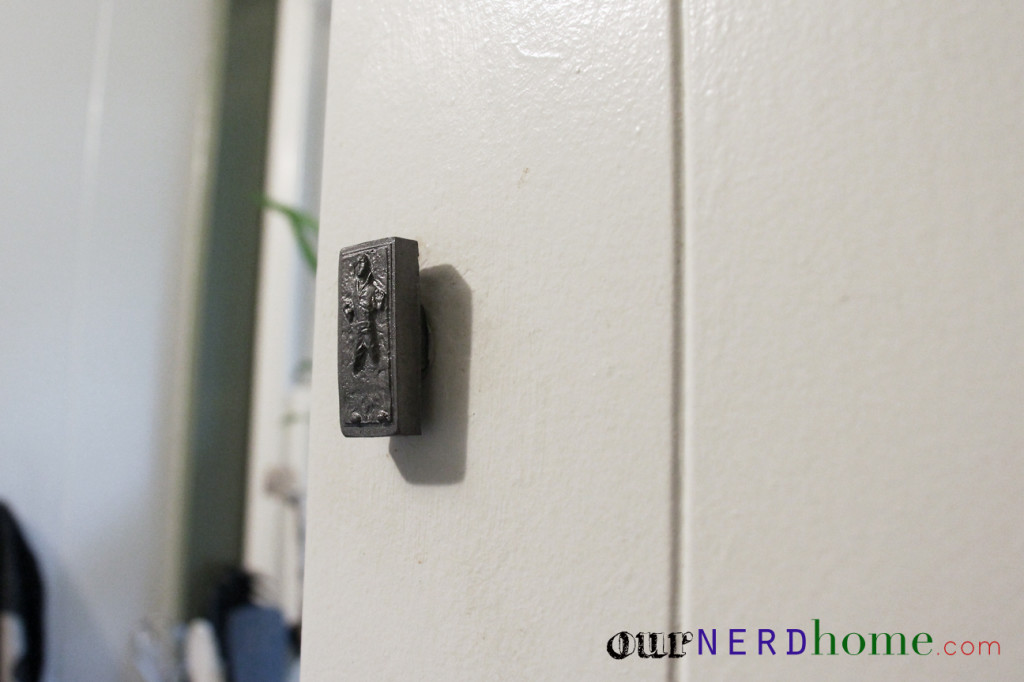
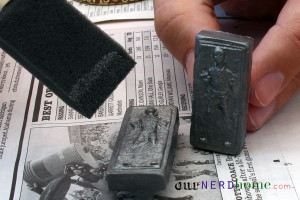 And that’s it. We weren’t sure if we wanted to use them in the kitchen or the bathroom, so we went with both.
What do you think? We’ve been working on a few other geek home decor DIY’s over the past few days, so watch for those posts soon. We’re also working on a prototype of these made with more professional-grade materials, for our soon-to-be Etsy shop.


 Mamama' says
September 18, 2013 at 10:35 amThey look so COOL! Genius, you guys…..
 Christina says
September 24, 2013 at 8:31 pmjust so yall know you can NOT use the tray for ice cubes again, just didn’t see it in the post and thats the only bad part about making these… no more han solo icecubes.
 ournerdhome says
September 24, 2013 at 8:36 pmGreat comment! And thank you. Yes, this tray is now ONLY used for more and more Han craft items… we’re thinking magnets, crayons, some kind of jewelry? (Eventually we’ll have to get another tray for ice – we miss our Han ice cubes!).
 Anjee says
October 8, 2013 at 4:29 pmThis is brilliant! I am totally going to make these. I already own the ice tray plus I am a potter so I already have clay. SO EXCITED- thanks!!!
 Rory says
October 15, 2013 at 6:36 pmThese are such a great idea! My dad would so love these, it would be a great birthday present!
 Lisa says
October 17, 2013 at 1:01 pmFantastic idea!
And I’d never thought to bake Sculpey in a mould. Hmm…it’s opened up all sorts of crafty possibilities.
 Tanja says
May 4, 2014 at 5:23 pmI absolutely LOVE this idea! I was looking for a way to “GEEK” up an old hutch for our GEEK KITCHEN. This is perfect for the drawer handles! Thanks for such an awesome idea and instructions! 🙂
 Jessica says
August 7, 2014 at 3:06 pmAwesome! What size nut/bolt did you use? Are kitchen/dresser knobs pretty confirm when it comes to this size do you know?
 Greg says
March 28, 2015 at 7:52 amIf you press the nut into the back of the mold then put the squares over the top of it that will help hold the nut in place.