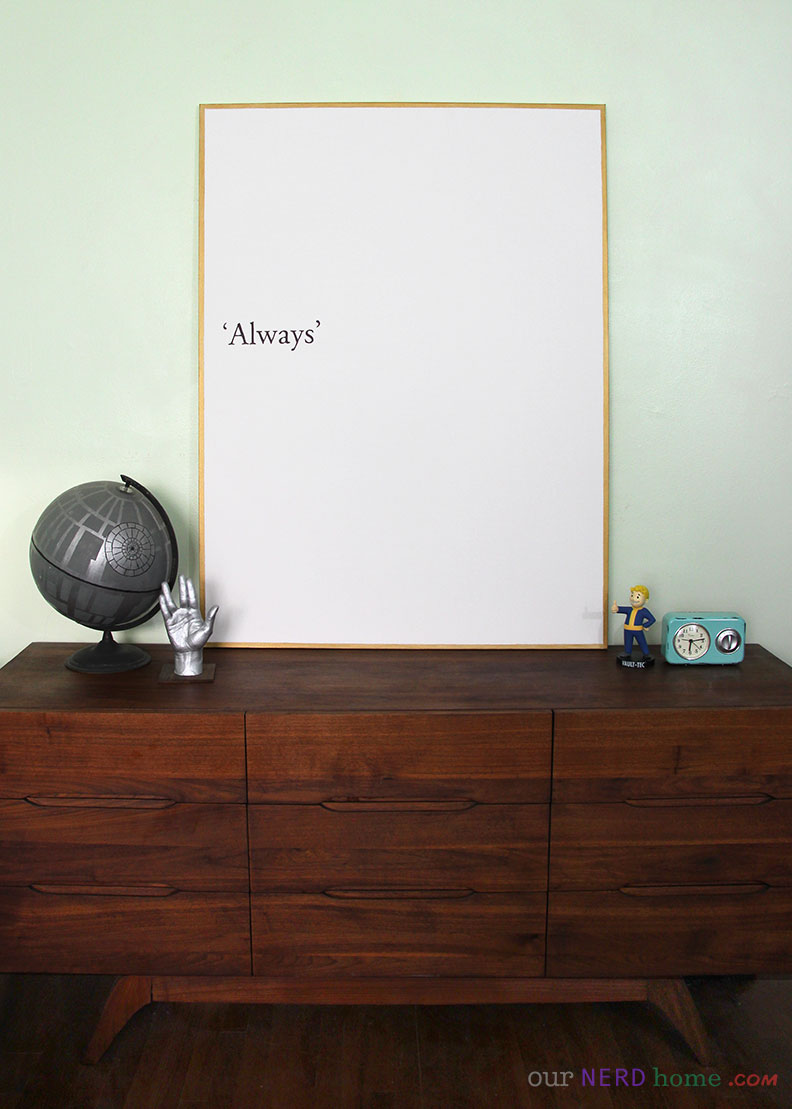
Hey! We’re back! And we needed a BIG piece of easy DIY geek art for our bedroom wall, so threw this Harry Potter Always art together in a few minutes.
First – we’ve missed you! Things have gotten busy-busy at our day jobs, so sadly we had to take a little hiatus from posting. Thanks to everyone for sticking around and interacting with us on social media though.
Second – if you need a giant piece of geek decor artwork, here you go! We got really sick of our bare bedroom wall, and when we saw these GIANT canvases on sale for $12, we knew we had to make something. After scouring Pinterest and whatnot for awhile, we saw THIS and fell in love with it. And now we regret our mint green paint choice, and wish we would have gone with black instead. Next time.
This project is so easy it doesn’t really warrant a full tutorial, so we’ll keep it quick.
And of course you don’t have to go with “Always” – we were initially going to do “Let’s Dance”, but after a few mockups of different quick phrases, settled on something sweet yet tear-inducing. Also, we love how it looks like a giant page from a book, so thought that a literary quote would work best.
We started with the biggest canvas size that we knew would easily fit in the car (36″x48″). They were 70% off at Michaels, which brought it to a whopping $12. So keep an eye out for sales! They seem to be on sale every few weeks. If you want it a little smaller, there are basic canvas deals on Amazon too.
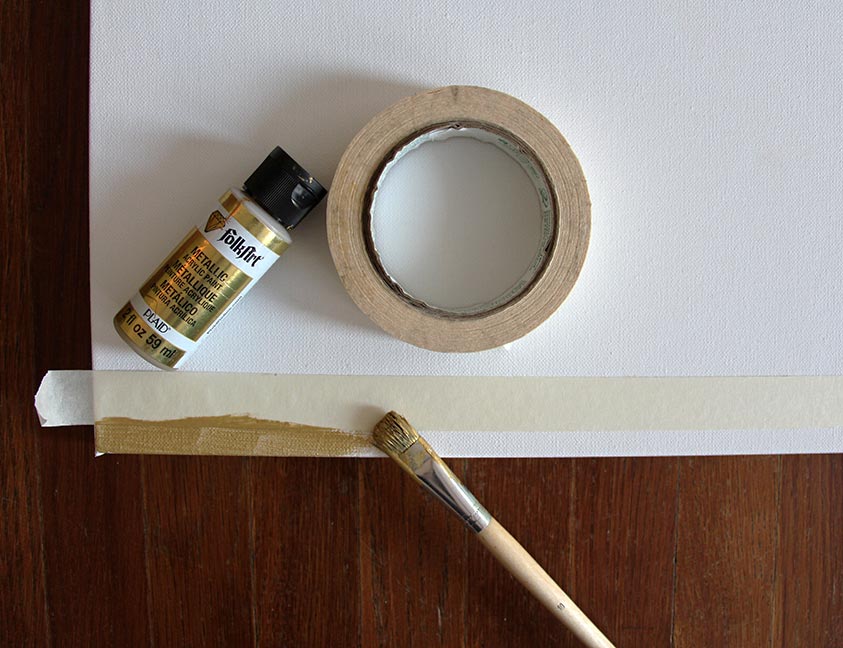
Other supplies are just optional gold paint/brush, tape, a pencil, and a Sharpie. Oh, and a printer & paper.

At first we just traced Always on the white canvas, but it didn’t quite look right, so we decided to PAINT a frame right on. If your wall is darker and provides more contrast, the “frame” part can be skipped. Or you can go legit and actually frame it with a real frame.
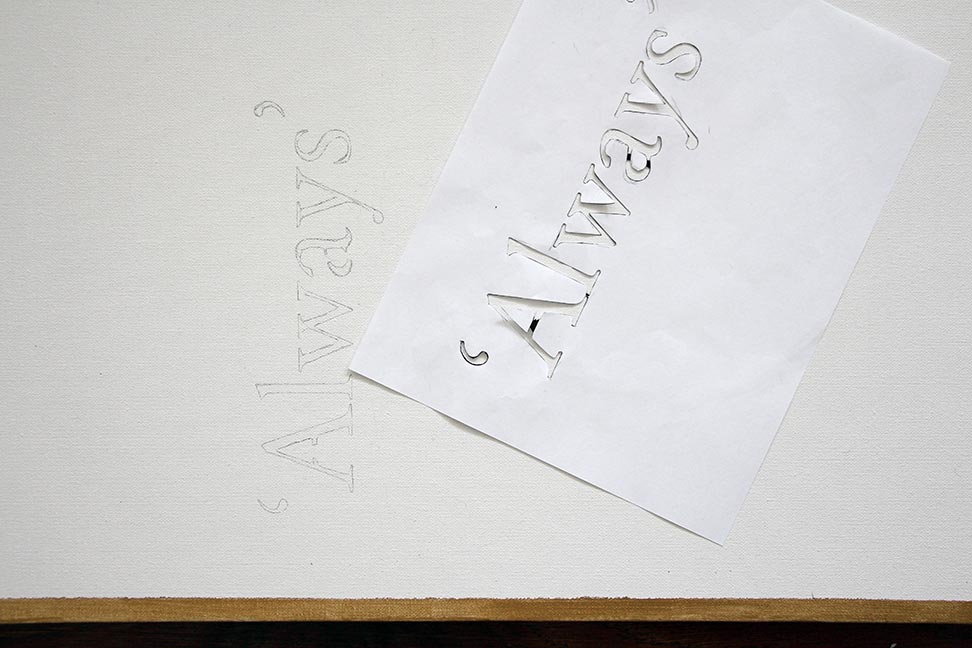
After we painted the gold frame on (by taping a straight-enough line down each side and painting, including going around the outside of the canvas), we printed out our Always word while the paint dried. The Harry Potter font is Adobe Garamond Pro, so that was easy enough to find. In MS Word, we filled the entire page with the word, printed it, then cut out the inside of the letters with an X-acto knife. Be careful to leave little “connectors” on letters like “a” in your new stencil (see photo).

We traced inside the letters with pencil, to make sure everything looked a-okay. Once it was right, we drew over the pencil with a black Sharpie. CAREFULLY. And slowly. But not THAT slow, cause this whole project still took maybe a total of half an hour.
And that’s it. For scale, that’s a full-size globe (DIY Death Star Globe). And a full size hand. 🙂 (DIY Star Trek LLAP Hand). We picked up that vintage dresser at a yard sale last year for $20, and refinished it. <3

What do you think?

 Erin Radler (@eradscantina) says
March 31, 2016 at 10:15 amLOVE this, and happy to see you back :DDDDD (and also i might seriously think of making this, it’s so rad)
 kaycreate says
March 31, 2016 at 11:41 amLooks great! I didn’t even realize the gold was painted – thought it was a skinny frame! Glad to see you back. 🙂
 Alba says
May 19, 2016 at 4:27 pmLove the vault boy with the radio too, nice!