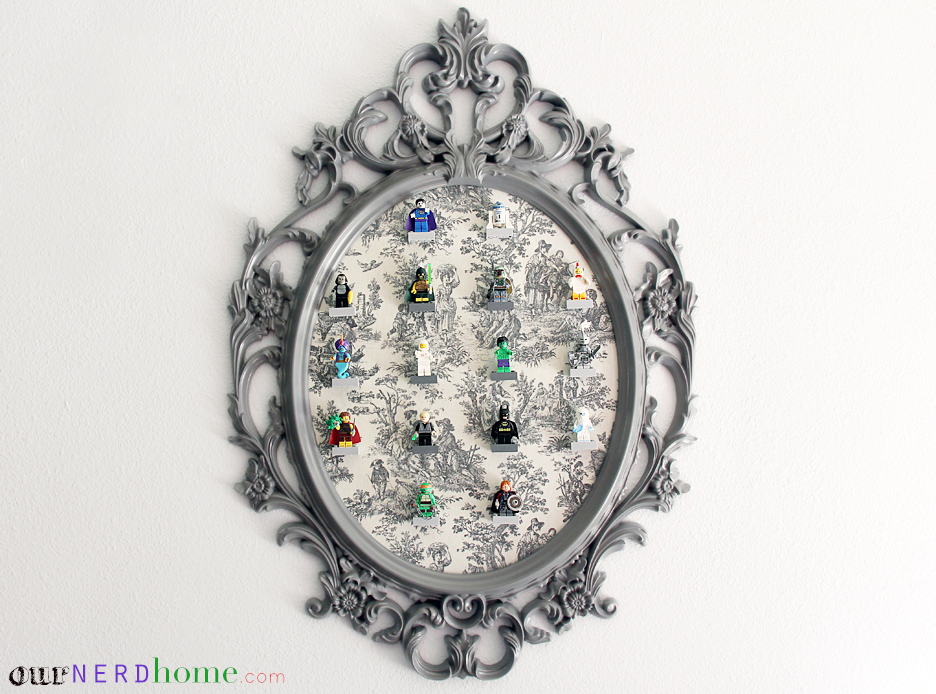
We have A LOT of LEGO minifigures, and have been trying to come up with better ways to display some of them. We also had an unused IKEA Ung Drill frame. Long story short, Minifigures + Baroque style frame = this project.
What we used:
IKEA Ung Drill Frame
Spray Paint
GOOP glue
Clear contact paper
Toile Fabric
Some of our favorite LEGO Minifigures
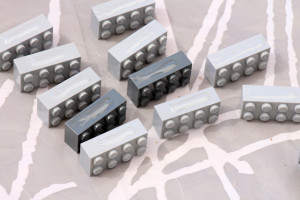
LEGO 2×4 blocks
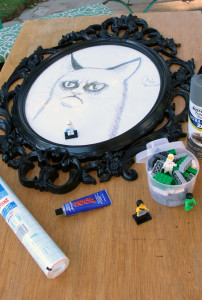
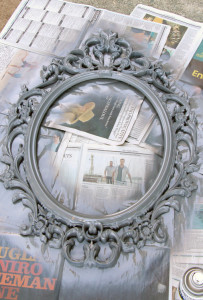
Here’s what we started with. Yes, that’s a portrait of grumpy cat (drawn by Cam). We saved her to move to another frame. First thing first (after taking the glass out of the frame), we spray painted the frame grey. Mainly because we wanted the LEGO minifigures to really pop, so wanted less graphic colors for everything else.
[Not pictured] After that, we covered the glass (I think it’s actually acrylic/plastic) in clear contact paper. This way if we ever change our mind about this project we [hopefully] can just peel the contact paper off and the glass underneath will still be fine. A bonus: clear contact paper is actually a little frosted, so it made the fabric that we used behind it look more vintage.
We had some leftover grey toile lying around, so used it for the background. Just cut it to a size slightly larger than the cardboard frame backing, and wrap it around. We used Scotch tape to secure it.
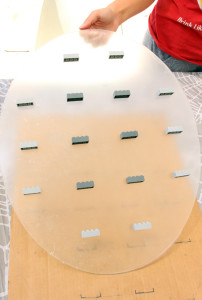
We traced the glass onto a piece of cardboard to use as a template for the Minifigure placement. Spacing everything evenly with a ruler, we marked where we wanted the LEGO base blocks (2×4) to be glued.
Lay the glass over the template, and get ready to glue! Since we used GOOP glue (which has to be applied to both surfaces), we put glue on the LEGO blocks, and a dab of it on the glass.
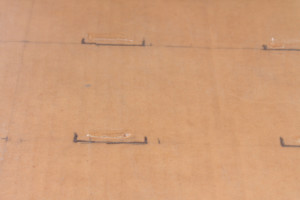
Stick the LEGO blocks on the frame, hold them there for a few seconds, and that’s it!
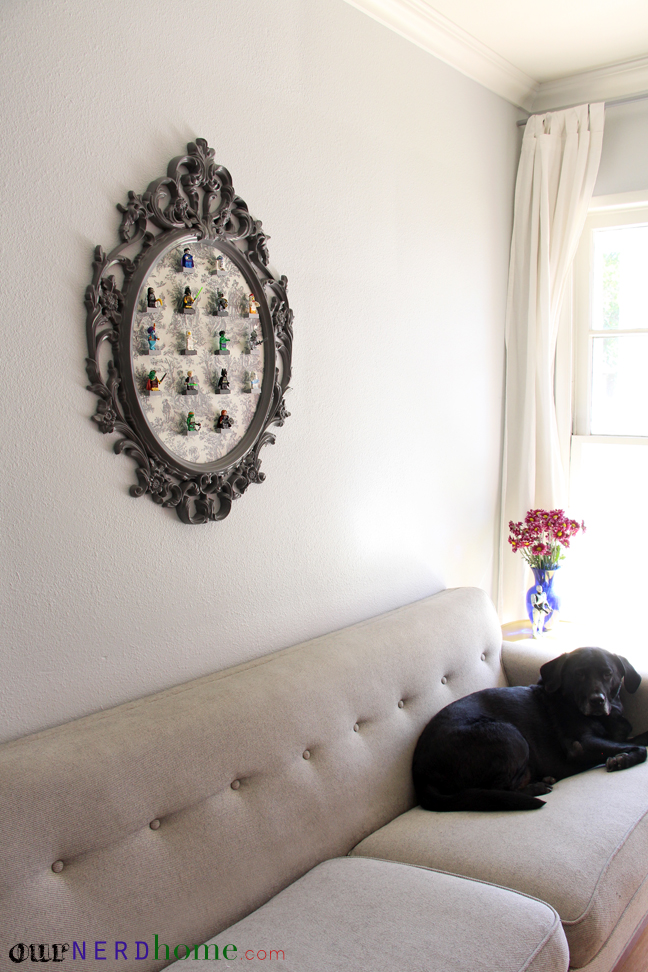
Reassemble the frame, and hang it up.
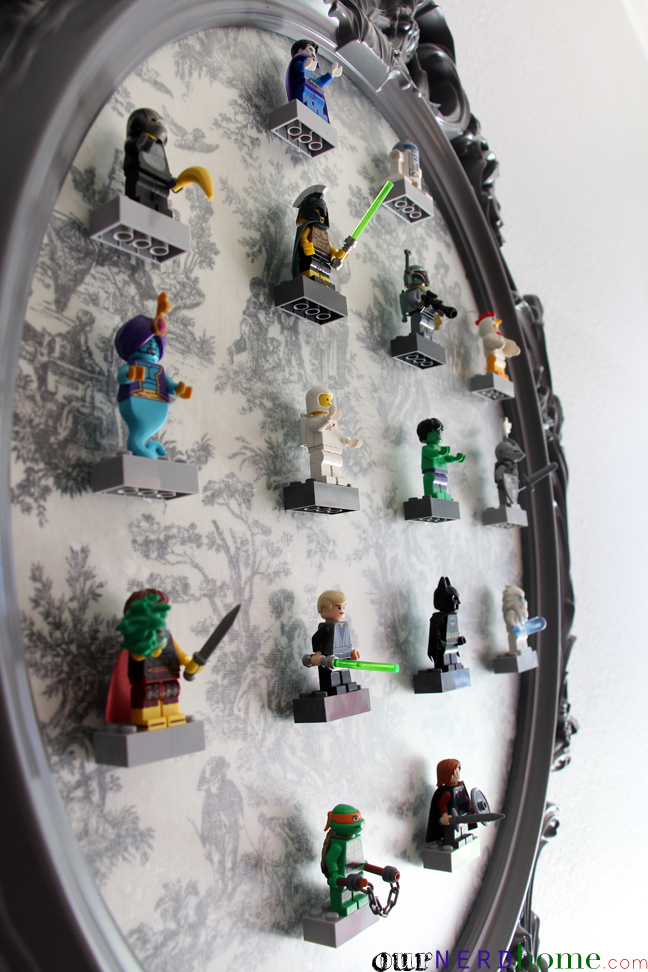
It’s super easy to change out the minifigures, so we can rotate through our favorites.
We would love to know what you think.
Oh, and stay tuned, because we have a few more LEGO minifigure display options heading your way soon!


 Mamama' says
September 30, 2013 at 1:03 pmSoooo cool! And very classy…hi, Jules!
 ournerdhome says
September 30, 2013 at 1:57 pmJules LOVES photobombing all of our pictures.
 Patricia Bianca says
October 10, 2013 at 10:04 pmI think it is really cute, but your dog looks totally unimpressed.
 ournerdhome says
October 10, 2013 at 10:11 pmHaha, that sounds about right. If there aren’t treats or a walk involved, he is pretty unaffected.
 Tori says
October 14, 2013 at 6:57 pmWho knew Legos could be so chic! I will be featuring these on Tell Me Tuesday tomorrow! Thanks for linking up 🙂
 dollarstorecraftsdotcom says
November 5, 2013 at 8:39 pmI need to make this. My three boys know I have my own minifig collection… this would keep my ‘figs safe from little boy hands.
p.s. Love all your projects — what a great site you’ve created here!
 Emily Timmons says
December 3, 2013 at 2:29 pmHi there! Just dropping you a note to let you know that I linked to this project on AllFreeKidsCrafts 🙂 thanks again for letting me link to you!
 Natalie says
July 2, 2014 at 9:06 amDo you know where you can buy the minifigures individually? My son would love this but he would never let me take his favorite characters to make it. I would like to buy duplicates , but that’s proving to be a challenge.
 ournerdhome says
July 5, 2014 at 6:33 pmHi Natalie! We sometimes buy individuals on eBay or swap with friends, but usually we just use the ones that come in sets or blind bags from Target/Toys r Us (we feel around on the blind bag first, to try to figure out which figure is in there – usually the accessory item will be kind of easy to identify by feel). Since the figures go on and off of the display frame really easily (they’re not glued down), you could always swap out the figures as your son wants to play with them?
 Rose says
January 9, 2015 at 9:01 amFeatured this post on my blog yesterday (photo is linked to your website, so readers can see the tutorial and you are credited) because I absolutely fell in love with the concept and the execution. Your DIY projects are fantastic! Thanks for sharing them with and inspiring us, crafty geeks, everywhere!
 iammania says
January 17, 2015 at 11:56 amSo amazing!