You won’t see that many jewelry DIY’s here (not really our specialty), but we thought this was a pretty fun and easy holiday geek gift idea. DIY Shrinky Dink cameo necklaces.
Remember a couple of weeks ago when we posted this DIY Shrinky Dink necklace tutorial from Wrapped Up In Rainbows? At the time I was just going to make the same style necklace, but as Legend of Zelda rupees. Well, I did, but I’m still working on getting the color right, so that’s a post for another day. In the meantime, we made THESE.
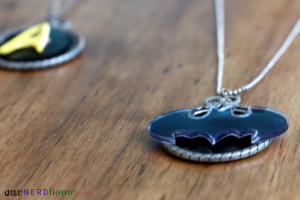
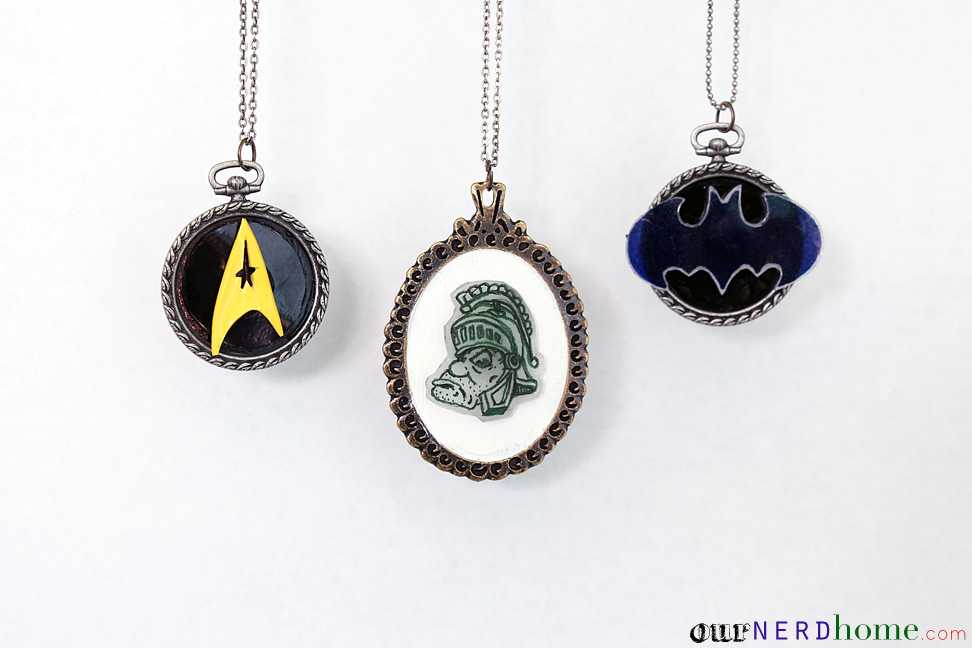
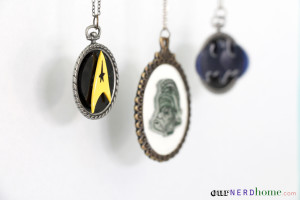
We ended up making several necklaces, for a few different friends. This first batch was a Star Trek logo (…for me), a Batman logo, and a drawing of the Michigan State mascot (Cam’s alma mater. Trivia: He used to be the mascot). As you can see, it’s very easy to tailor these to whatever your friends interests are.
We used:
Cameo-style necklace settings and chains (get ’em at Joann or Michaels)
Shrink plastic (AKA: Shrinky Dinks)
Heavy duty glue (like E6000)
Step One: Draw your shape onto the shrink plastic. If you don’t want to freehand, you can also print the shape onto plain paper and trace it (or use your phone as a lightbox and trace directly from it! That worked for us, since the Star Trek logo is already my phone wallpaper). Make sure to draw your shape about twice the size that you want your final piece to be. For the Star Trek necklace we also made a basic black circle base out of the shrink plastic, to give more dimension, but this is optional.
Step Two: Color! Permanent markers will give a saturated color, or use colored pencils for a more subtle shade. The color will intensify once you bake the shrink plastic. You can also buy pre-colored shrink plastic (which is what the Star Trek logo is made of).
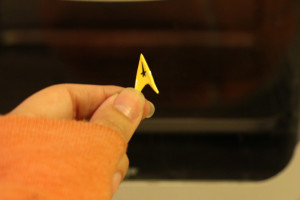
Step Three: Cut ’em out! Ours looked like this:
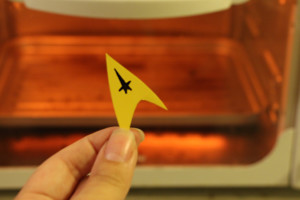
Pre-baked Star Trek Shrinky Dink
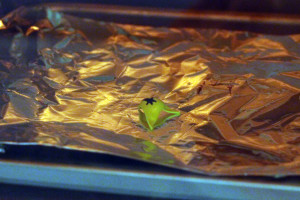
Step Four: Bake your plastic, according to the package instructions. Very quick and fun-to-watch process. It takes about 1 minute.
Step Five: Glue your shapes into your necklace setting. For the Michigan State and Batman cameo’s, we also painted the settings with acrylic gloss paint before gluing.
And that’s it! Make necklaces for sports teams, TV show logos, band logos, favorite shapes (music note, stars, emoticons, etc)… whatever.
 This was our first time playing with Shrinky Dinks since we were kids, and it was surprisingly fun/funny. We ended up going through at least five or 6 sheets of it, just messing around (we now have tiny versions of Frankenstein’s monster, Cobra Commander, terrible self-portraits, and our D&D characters. Wheeeeee).

 Lisa says
November 9, 2013 at 12:07 amThis is so great! I love the Star Trek one in particular ^__^
 Lindsay Seal says
November 20, 2013 at 6:15 pmLove this!
Particularly fond of the Sparty necklace.
Go GREEN!
 ournerdhome says
November 20, 2013 at 6:19 pmGo WHITE! Thanks, Lindsay! Gruff Sparty turned out pretty well, I’m quite proud.
 Brad Koch says
April 22, 2014 at 7:15 pmStar Trek and Sparty! I’m in heaven…..game
 Cole says
August 24, 2014 at 6:07 pmI was wondering what setting you used on your cameo for this? Specifically the pre-colored sheets. I have a bunch sitting around and have had absolutely no luck getting my machine to cut the clear or color plastic only the opaque sheets have worked.
 ournerdhome says
August 26, 2014 at 5:10 pmHi Cole. We actually cut all of the shrink plastic out by hand (not with a cameo). Best of luck!
 Troy Daniels says
November 29, 2014 at 2:33 pmFrom a person that works with the Shrinky Dink plastic a lot… using the cameo’s and other auto cutters is a bit of a pain, and you see quite a bit of waste. I would recommend that if you are going to get into the Shrinky…. just use scissors. Better results and less waste. Great job on these by the way. Can’t wait to make my daughter a Doctor Who cameo!