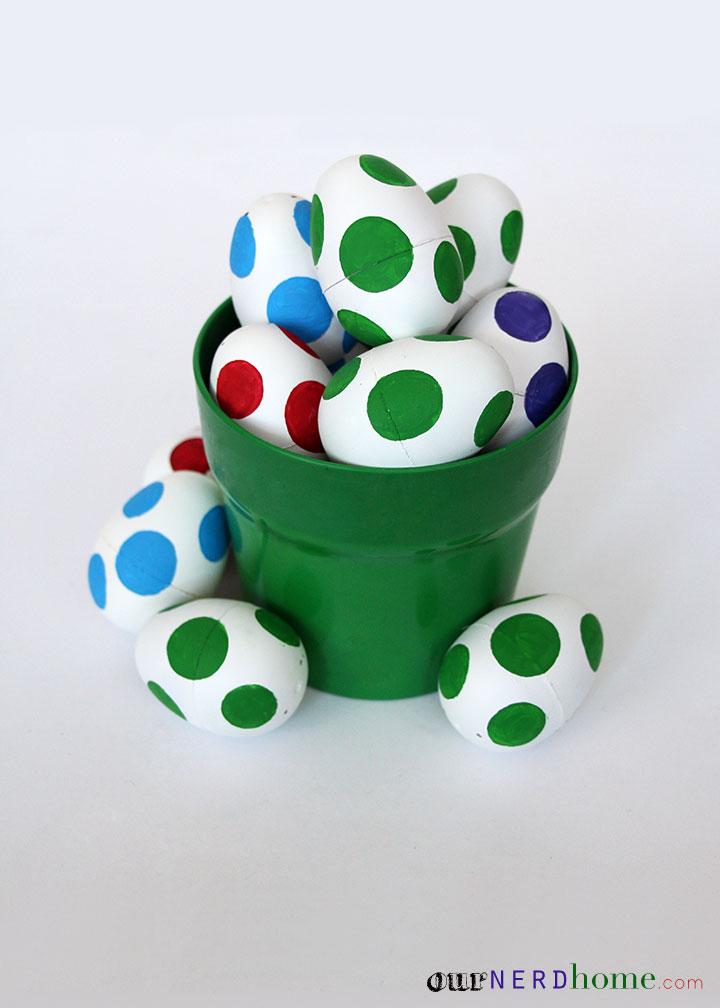
Wanna make some VERY easy candy-filled Super Mario DIY Yoshi eggs, for a geeky Easter basket/centerpiece? Here you go!
Usually we plan our DIY projects a few days/weeks in advance, but this one came about this morning when we saw some cheap plastic Easter eggs on sale. You can get these things pretty much anywhere around spring/Easter time, usually for just a few cents each (we got a 24 pack for just over $1 at Michael’s). Tip: You might want to stock up and use them for holiday ornaments too.
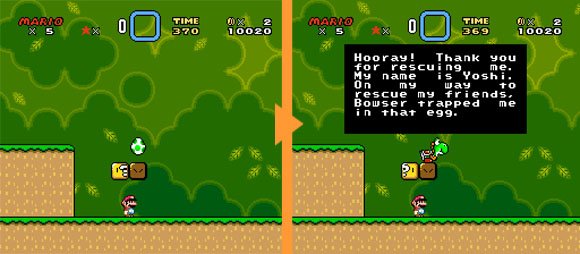
We love Yoshi. What’s not to love about an adorable dinosaur-like friend that you can ride, who eats anything in sight when you punch him in the back of the head? We’ve got Yoshi slippers, plush figures, t-shirts – so it just made sense we’d have some DIY Yoshi eggs too.
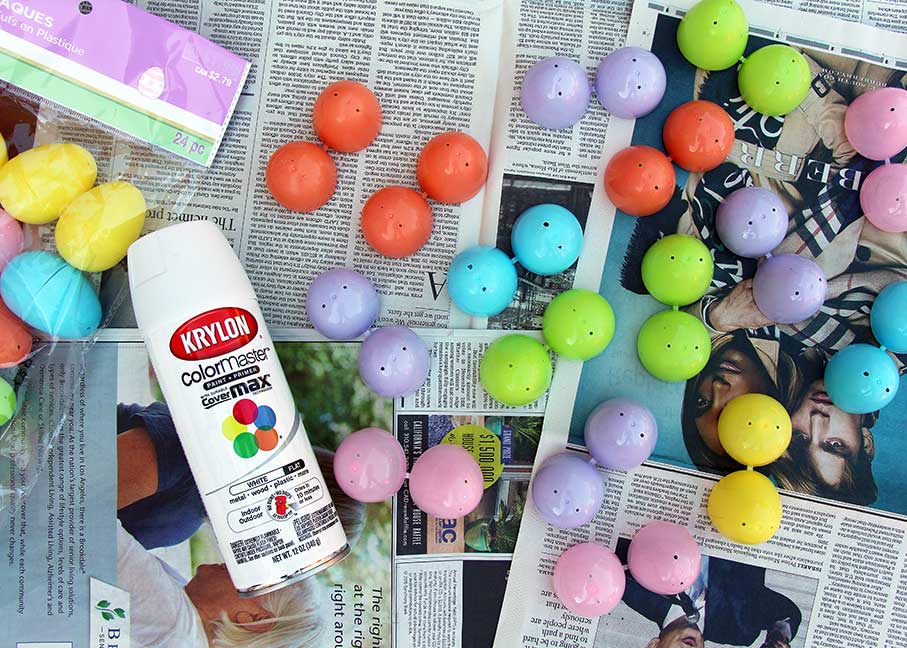
They make these plastic eggs in white as well, but those were more pricey so we went with the cheap shiny kind. Which of course don’t look much like egg texture, so we spray painted them with flat white paint that is formulated to stick to plastic. Open them up first and lay them flat on newspaper before you paint. It took three light coats to not have the original “egg” color show through.
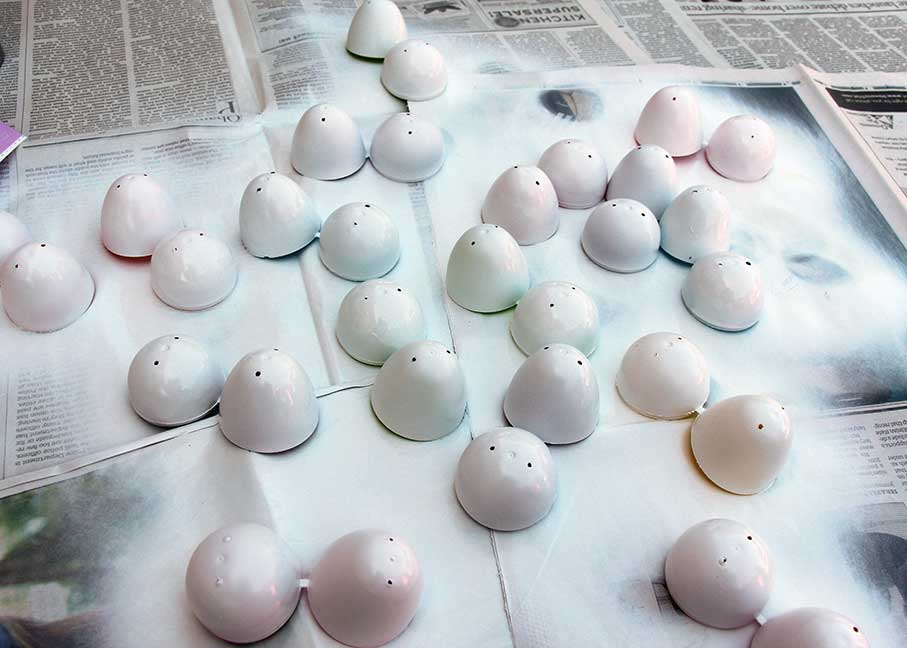
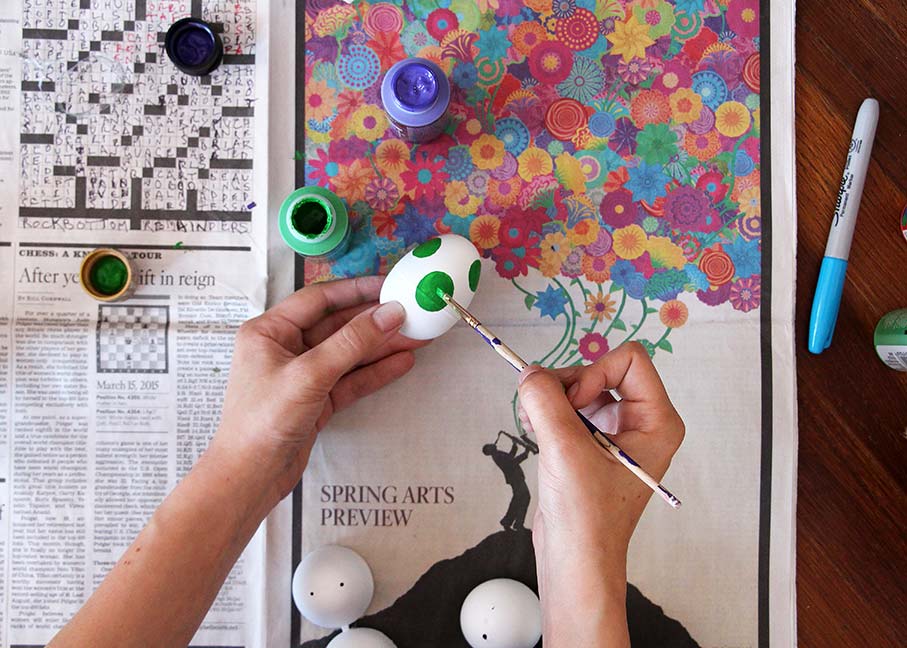
Once the spray paint dries, grab some acrylic craft paint and paint on big green circles. …That’s it. Fill them with candy and you’re done. You can make other color eggs too, if you hope to hatch a little flying Yoshi, fire Yoshi, etc. We just painted the circles on by hand, and didn’t necessarily worry about them looking perfect. We figured a more organic look worked for this. An alt to the acrylic paint would be Sharpie’s, if you have them in the right colors.
We got the green planter pictured up top at IKEA last summer, and it always reminded us of a Mario warp pipe. At least it makes a good home for these eggs! Oh, and speaking of Mario – remember our DIY Mario Piranha plant we made last year? That guy is somehow STILL going strong, protecting our backyard from wayward plumbers. We’ll probably make a couple more this year.
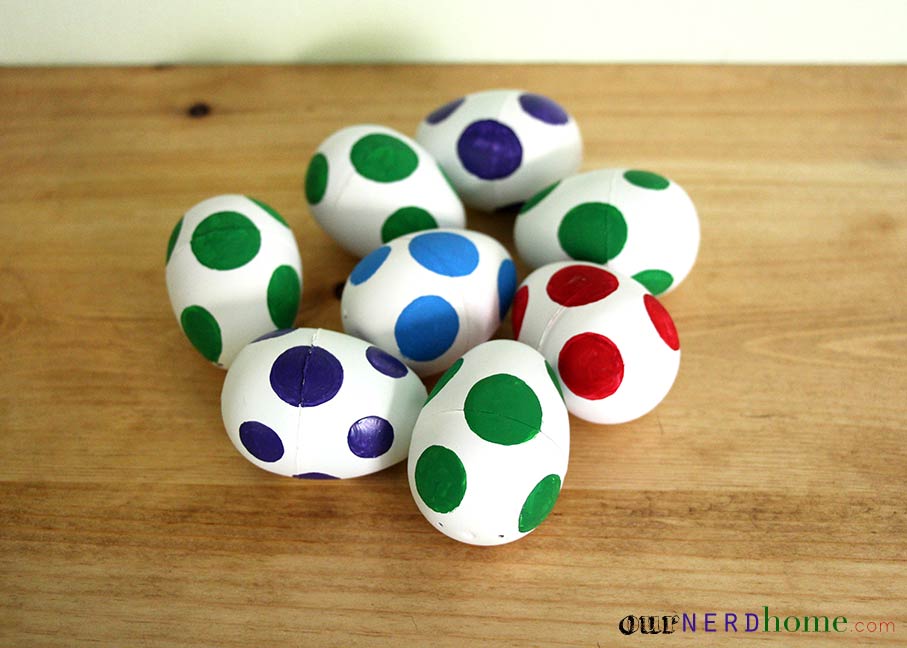
What do you think? Any geeky spring projects or events planned this year? 🙂

 Katy Bug says
March 30, 2015 at 5:58 pmWell I clearly need to make some blue Yoshi eggs.
 ournerdhome says
March 30, 2015 at 11:12 pmYes you do! I just assumed you had a house full of blue yoshi eggs already. 😉
 kaycreate says
March 31, 2015 at 7:57 amAdorable, and so simple. Love it!
 ournerdhome says
April 1, 2015 at 8:12 pmThank you!! 🙂
 Choco says
April 2, 2015 at 5:10 amI love these . They are so cute!
 ournerdhome says
April 2, 2015 at 2:02 pm🙂 Thank you so much!
 Miliquinne says
April 2, 2015 at 2:46 pmThese are amazing! Did you paint the inside of the eggs too? If not, does it clash badly? And if so, would it be safe to put individually wrapped candies in them? I know the wrapping provides some protection, but there’s always that one chocolate egg with the foil riding up in one spot.
 ournerdhome says
April 2, 2015 at 2:52 pmThank you! We did not paint the inside, since we knew we wanted to put candy inside. Doesn’t seem to clash too badly – it actually looks kind of cute that when you open up the egg, it’s pink (or yellow or blue) in there. 🙂
 Jennifer says
December 14, 2015 at 4:08 pmHow well has the paint held up? I might need to make about 300 of these and I want to know if when they are sitting together does the paint flake or chip from them touching?
 ournerdhome says
December 14, 2015 at 5:23 pmHey there. As long as you paint with a paint that says it sticks to plastic, it should hold up! Ours are still looking good. 🙂